Byzantine Easter
Like much of Pittsburgh, I am ethnically Rusyn. I was raised mostly Roman Catholic (because my dad is). At Easter, though, I always attended Holy Ghost Byzantine Catholic Church, where my mom’s family belongs.
Byzantine Catholics have very different Easter traditions than many other Christians, but I didn’t notice until I experienced culture shock the time we took our basket to be blessed at the Roman Catholic parish where I grew up, and my basket was decidedly different from the others. Theirs had plastic eggs and chocolate bunnies. Mine had kolbasi, ham, bacon, pascha, hrudka, chrin, butter, etc. You know, a traditional Easter basket with all the foods for Sunday’s fast-breaking.
Or maybe you don’t know. That’s why I’m writing this. One of my friends from Pittsburgh (who I met after moving down to DC!) is also Rusyn but was raised without our traditions. She didn’t know that pysanky bind evil or how to make them, and she doesn’t know how to make our traditional Easter foods. So, for today at least, this is a recipe blog.
And though it’s not a basket food, I strongly associate pierogi/pirohy with Easter. Of course I eat them year-round, but Lent is when the church halls fill with little old church ladies in “pinch my pierogi” shirts, pinching pierogi to sell as a church fundraiser. Your church has a bake sale? I’ll take the pierogi sale, thanks. (Sauerkraut, please!) (If you want to make your own, this pierogi dough recipe fits what my mom remembers of my Mimi’s unwritten recipe.)
Basket contents
First off, what goes in an Easter basket? Frankly, if you Google image search for “Byzantine Easter basket,” you’ll find many copies of the exact same paper that is handed out in the church bulletin every year at Holy Ghost. Many foods (like the kolbasi (which you might know by the Polish spelling “kielbasa”), ham, bacon, salt, and butter) will be familiar.
Pascha is bread, so I’m sure that’s familiar too, but it’s a rich bread, not a simple flour/water/salt/yeast bread. It often contains raisins, though (because my spouse isn’t a fan) I make one loaf with and one without raisins. Recipe below.
One you may have never seen before is hrudka, a fresh cheese made with a dozen eggs and served only at Easter. I’ll put a recipe and photos below.
Chrin is a relish made of horseradish and beets. I’ve never made it from scratch because it’s also a common condiment for Passover that I’ve always been able to easily find jarred at the grocery store. I always buy Gold’s brand.
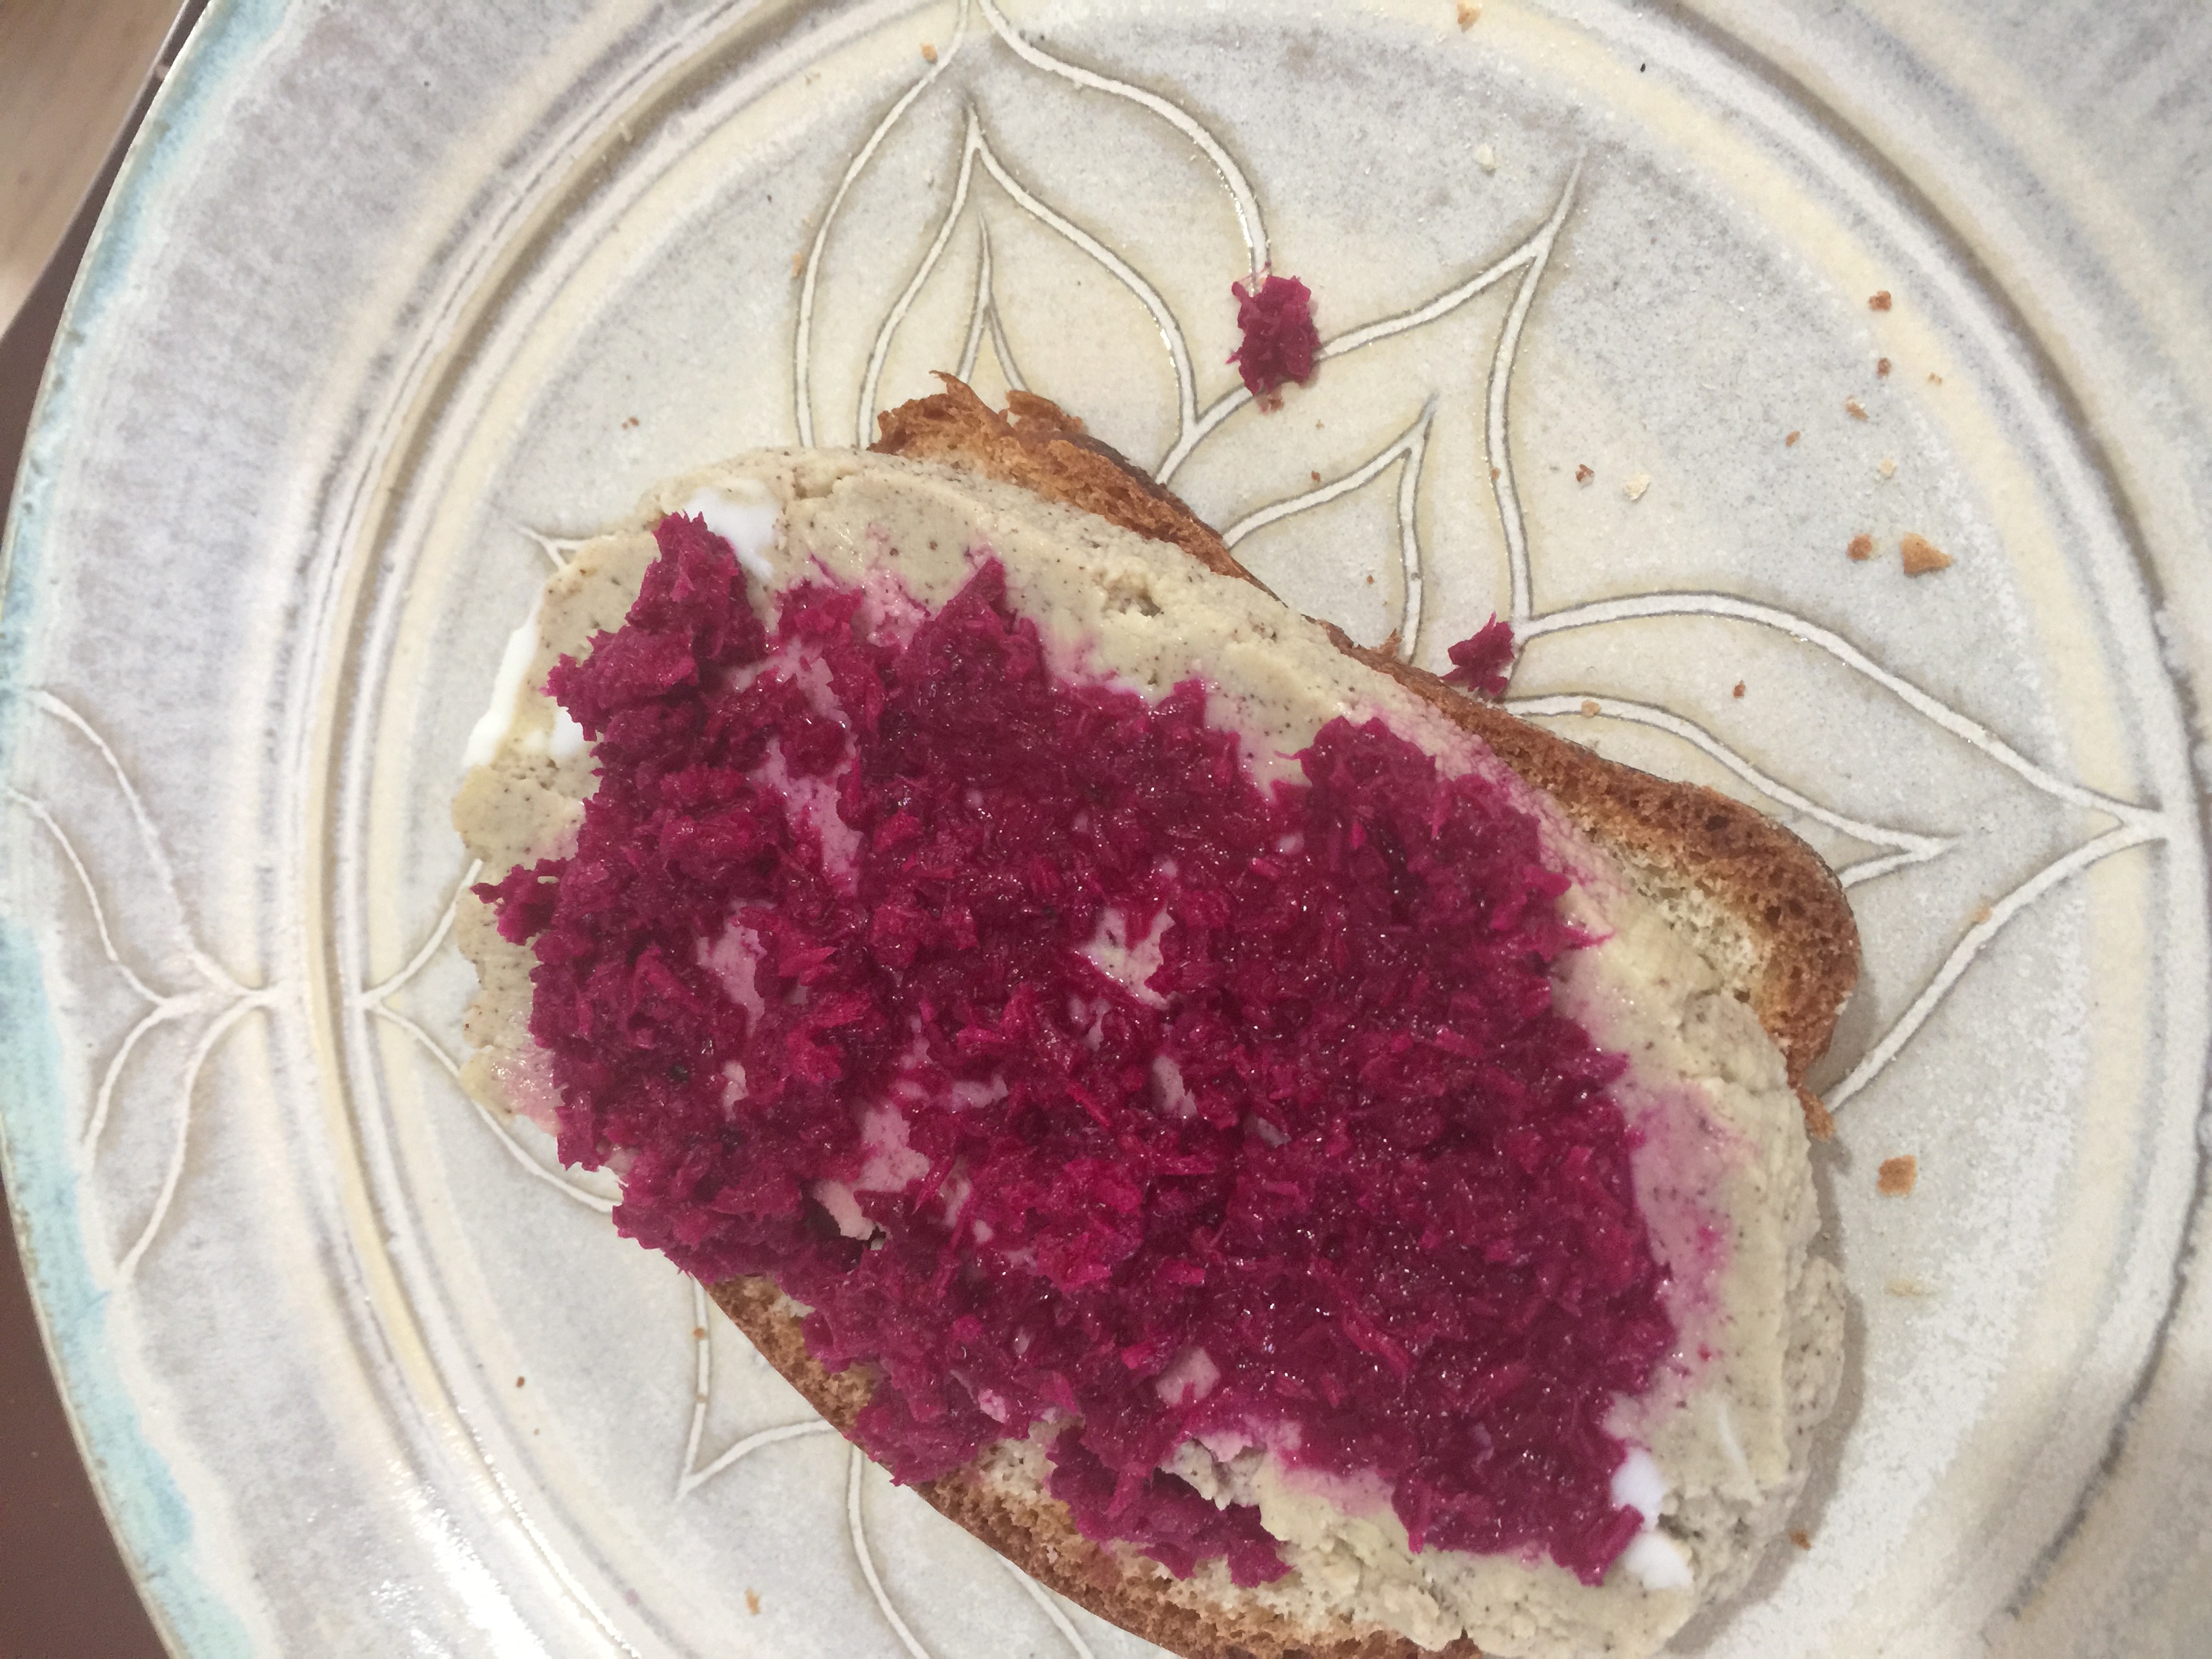
Tip: make an open-faced sandwich of pascha, hrudka, and chrin.
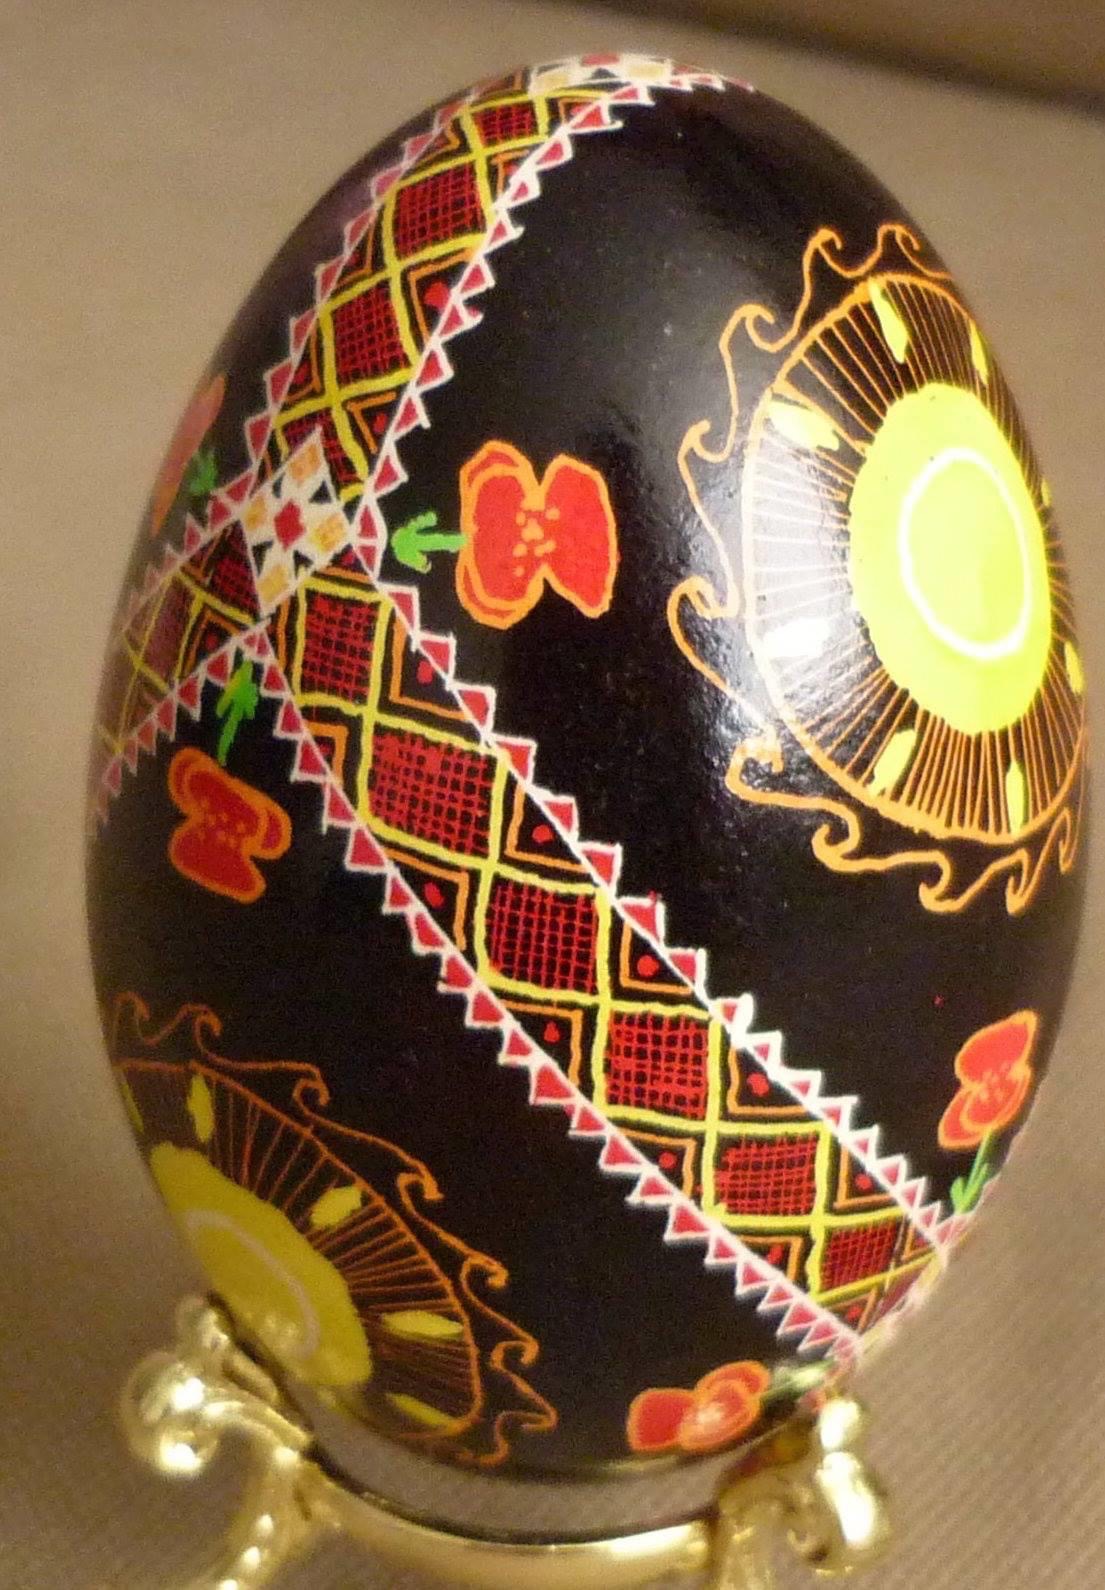
And then there are the things you don’t eat. Pysanky, written all over with prayers (in a symbolic language), are included in the basket. You also include a candle, which is lit during the blessing ceremony.
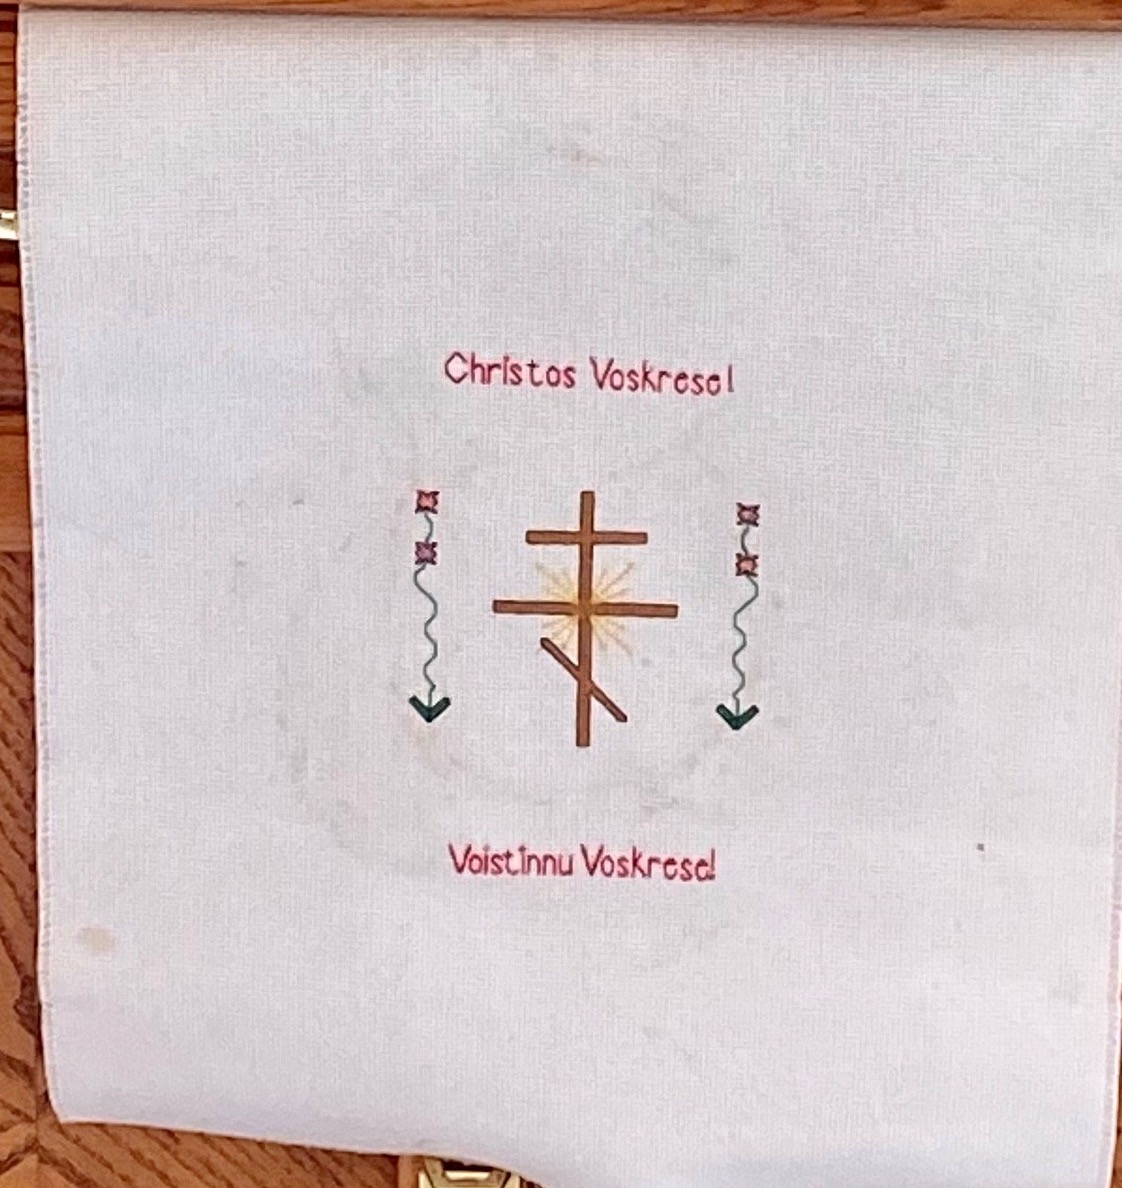
Finally, the basket is covered with a cloth embroidered with “Christos Voskrese” (or “Христос воскрес”), an Old Church Slavonic phrase meaning “Christ is risen.” (This is the traditional Easter greeting and is properly responded to with “Voistinnu voskrese,” meaning “indeed he is risen.”)
The blessing of the baskets happens after the Easter liturgy. Often this is after the one at midnight Saturday night, so people can break their fast in the wee hours of the morning rather than wait until they wake up. That’s what I grew up with. My local Byzantine church does it around noon on Sunday after having matins and liturgy at 10am.
Pascha Recipe
Pascha Ingredients
This recipe is from Holy Ghost.
- 1 unit of yeast (0.25 oz packet of dry active (equivalent to 2.25 teaspoons of you use jarred) or a cake of fresh yeast)
- 1 cup milk
- 1/2 cup shortening
- 1/4 cup sugar
- 3 or 4 eggs
- 1 tsp salt
- 4 cups flour
- 1 extra egg for an egg wash
- extra milk for a wash at the end
I have a handwritten copy from my Mimi, on which my mom has added marginalia. The marginalia says that my Mimi doubled the sugar and added golden raisins.
“3 or 4 eggs” is because they’re different sizes. If you buy jumbo, go for 3. If you buy small or medium, go for 4.
Pascha Instructions
TL;DR for experienced bread bakers: scald milk & shortening at the start, 2 loaves/boules, egg wash, 45 minutes @ 375°F, brush crust with cold milk while still hot
- Scald milk & shortening, and stir until melted.
- Allow to cool to lukewarm, then add yeast, sugar, salt, (maybe raisins) and eggs, beating to ensure everything is dissolved.
- Add 1 cup of flour and let the yeast proof, then add the rest, or enough to make a soft dough that can be kneaded.
- Knead.
- Let rise, covered in a greased bowl 2 hours or until doubled in size.
- Shape into two loaves. (If you use pans, remember to grease them.) Now is the time to add raisins to one loaf if you left them out above for an anti-raisin spouse.
- Preheat oven to 375°.
- Let rise again, about 30 minutes or until doubled in size again.
- Whisk an egg with a teaspoon of water then brush the surface with that.
- Bake for 45 minutes.
- Brush with cold milk and let cool.
Hrudka Recipe
Hrudka can be sweet or savory. I come from a family that makes it savory, but I prefer it sweet. It’s like French toast cheese. Yum.
I recommend preparing this in the evening so the cheese can set overnight.
Hrudka Ingredients
- 1 quart whole milk
- 12 eggs
- 1 teaspoon salt
- whole cloves (optional garnish)
That’s the basic savory recipe. I like to add 1 cup of sugar and 1 teaspoon of cinnamon.
Hrudka Tools
- whisk
- large pot
- colander
- cheesecloth
- string
Hrudka Instructions
- Put a colander in the sink, lined with cheese cloth.
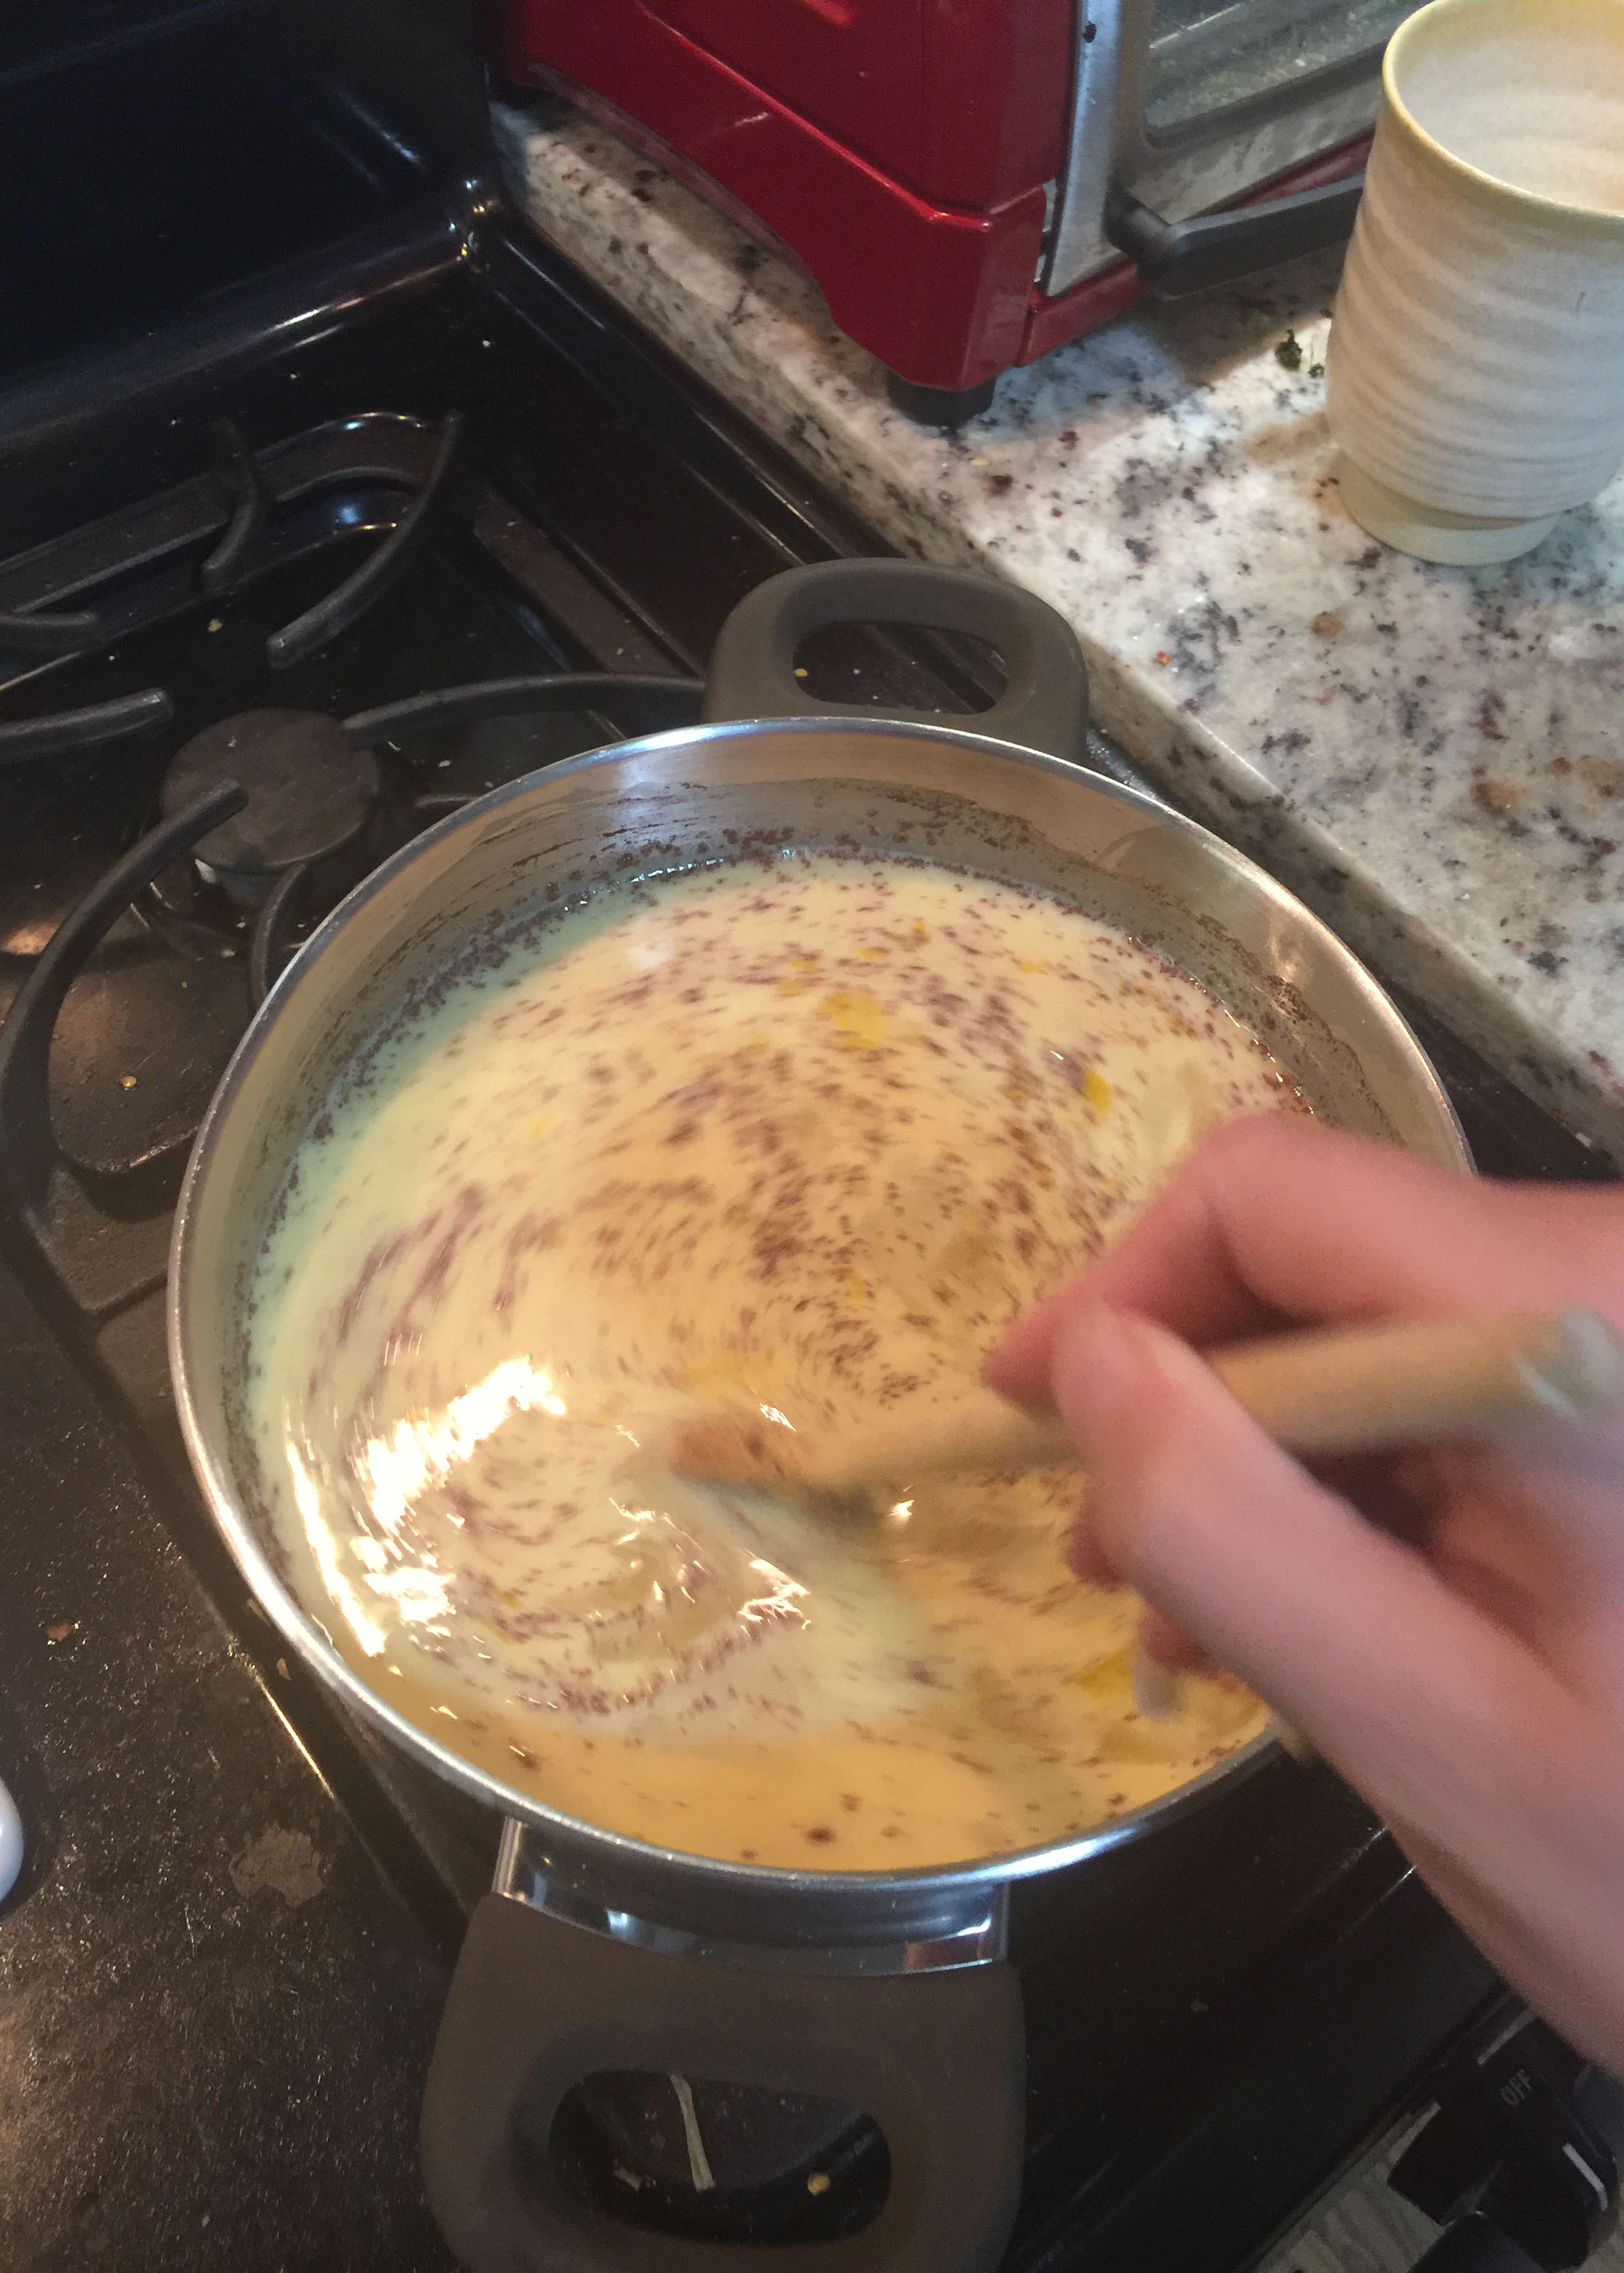
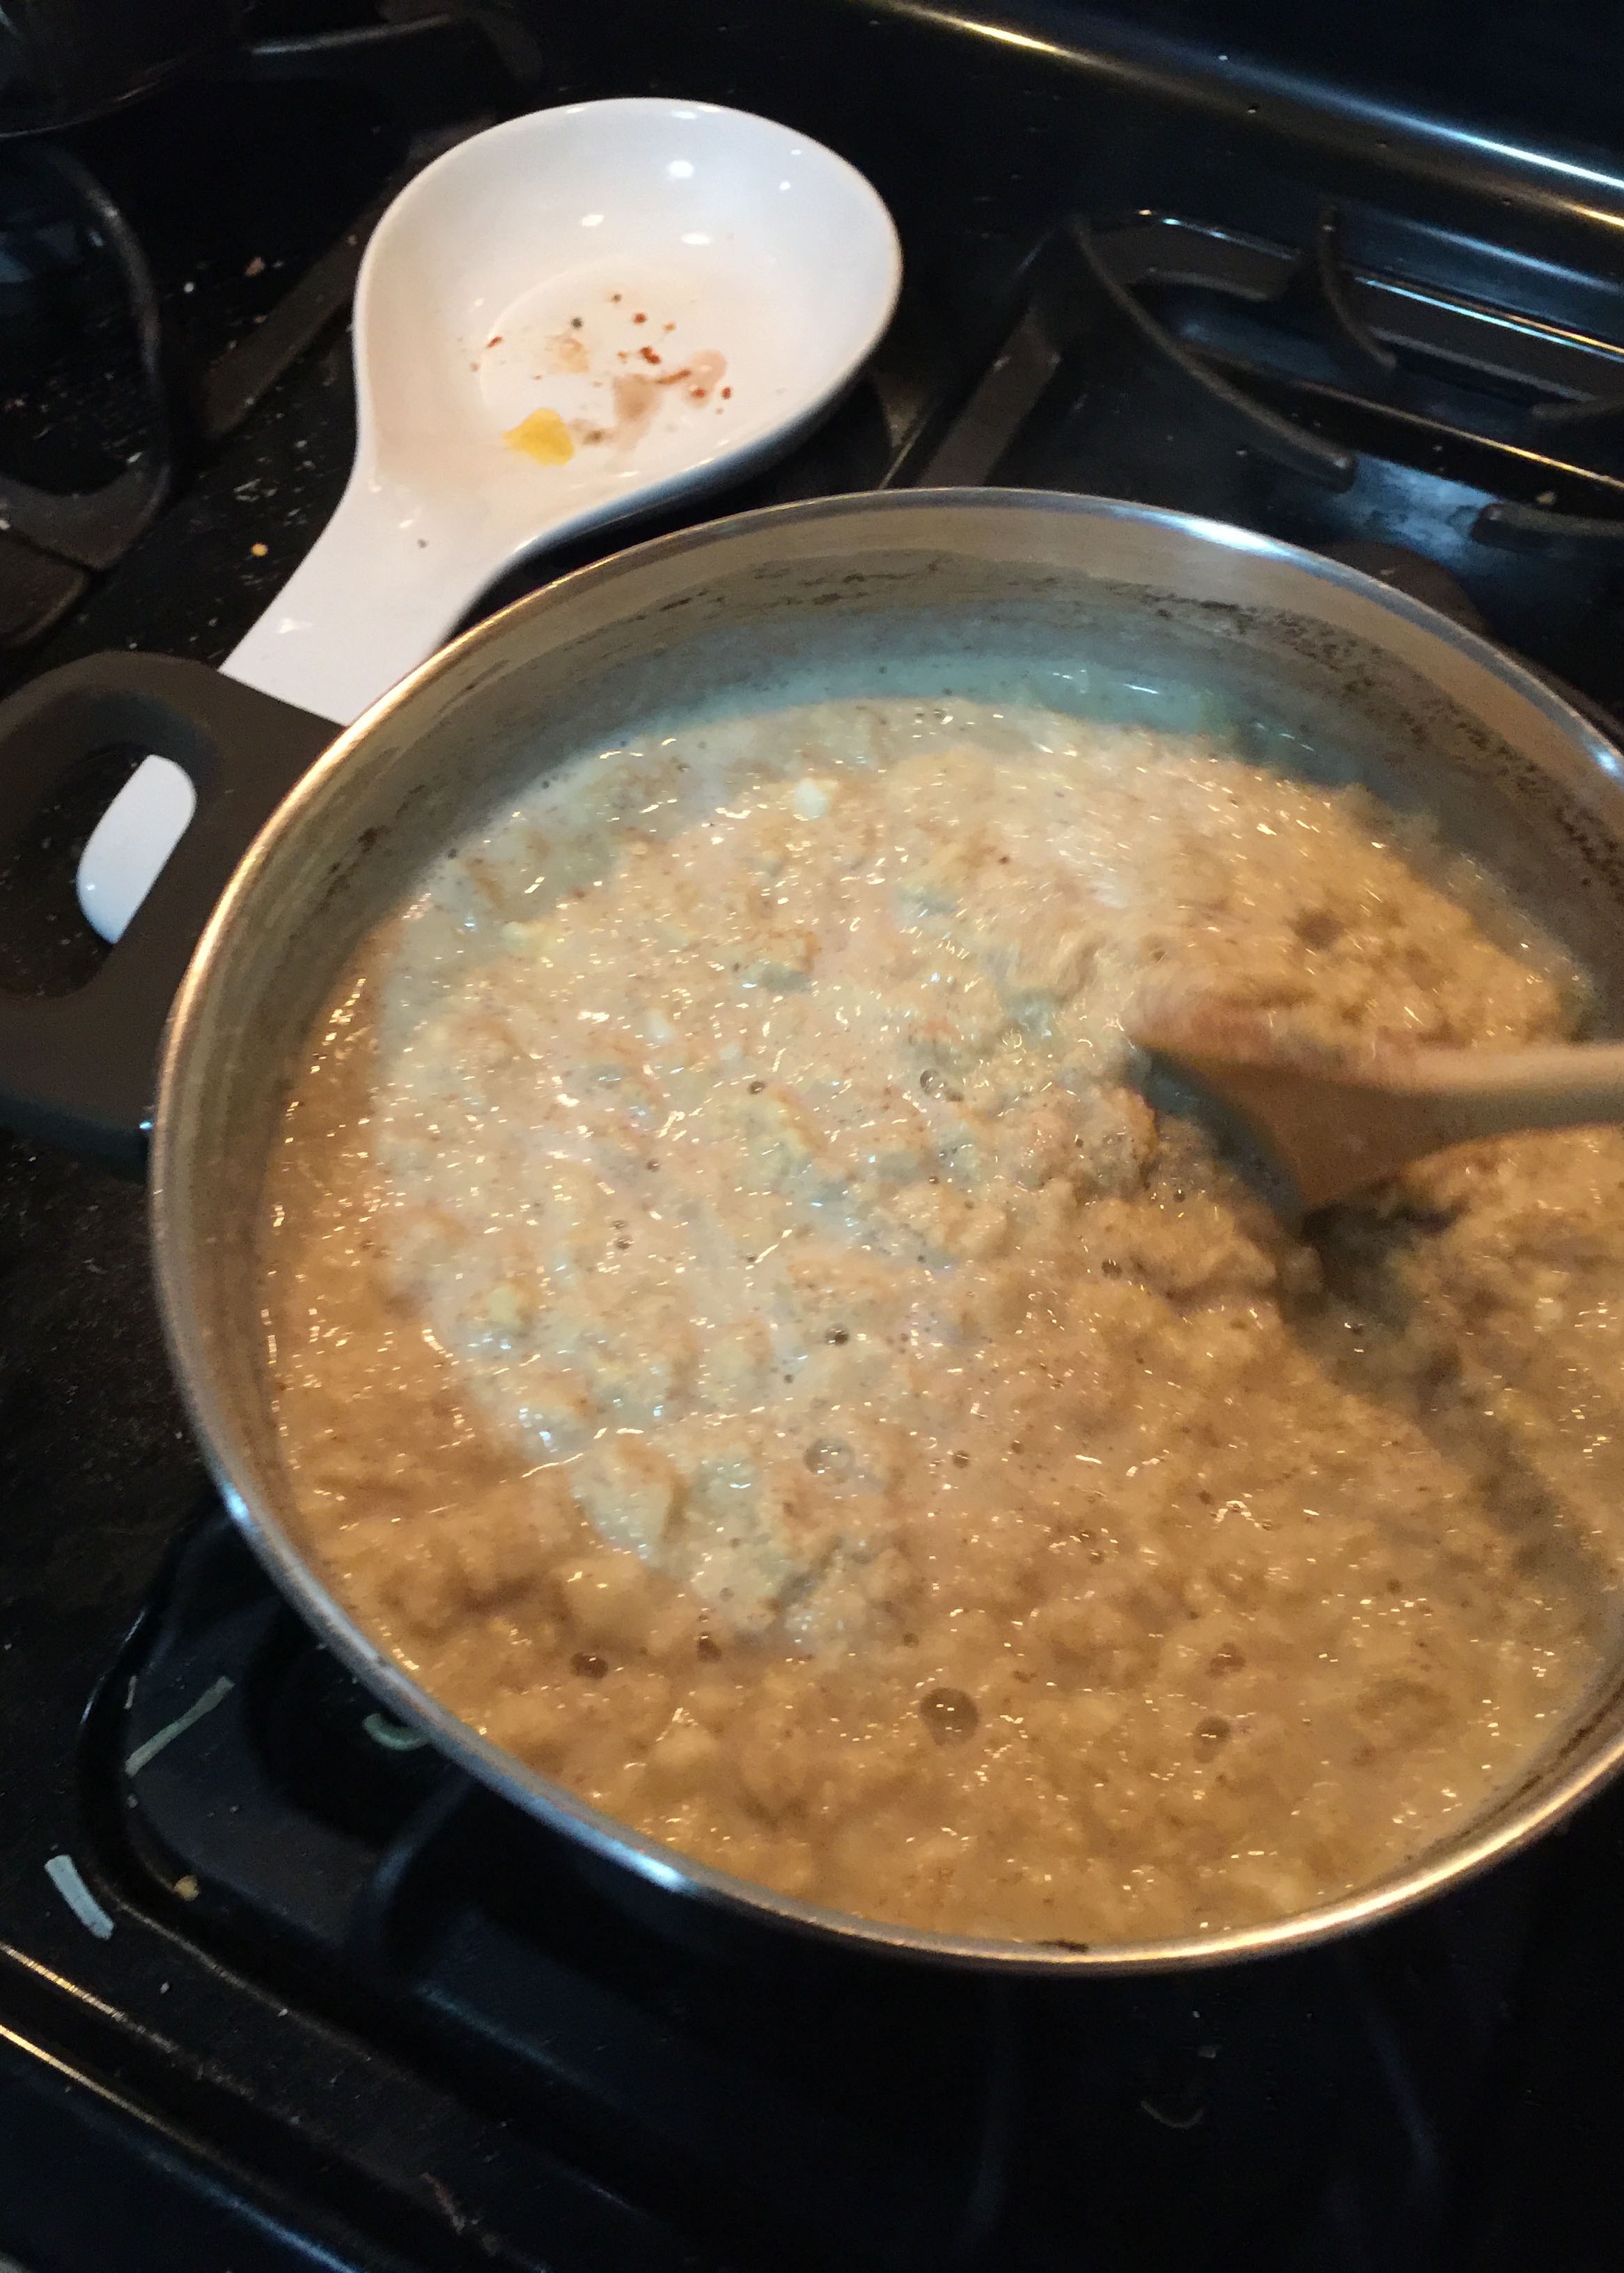
- Whisk everything but the cloves together over medium-low heat.
- Keep whisking.
- Keep whisking.
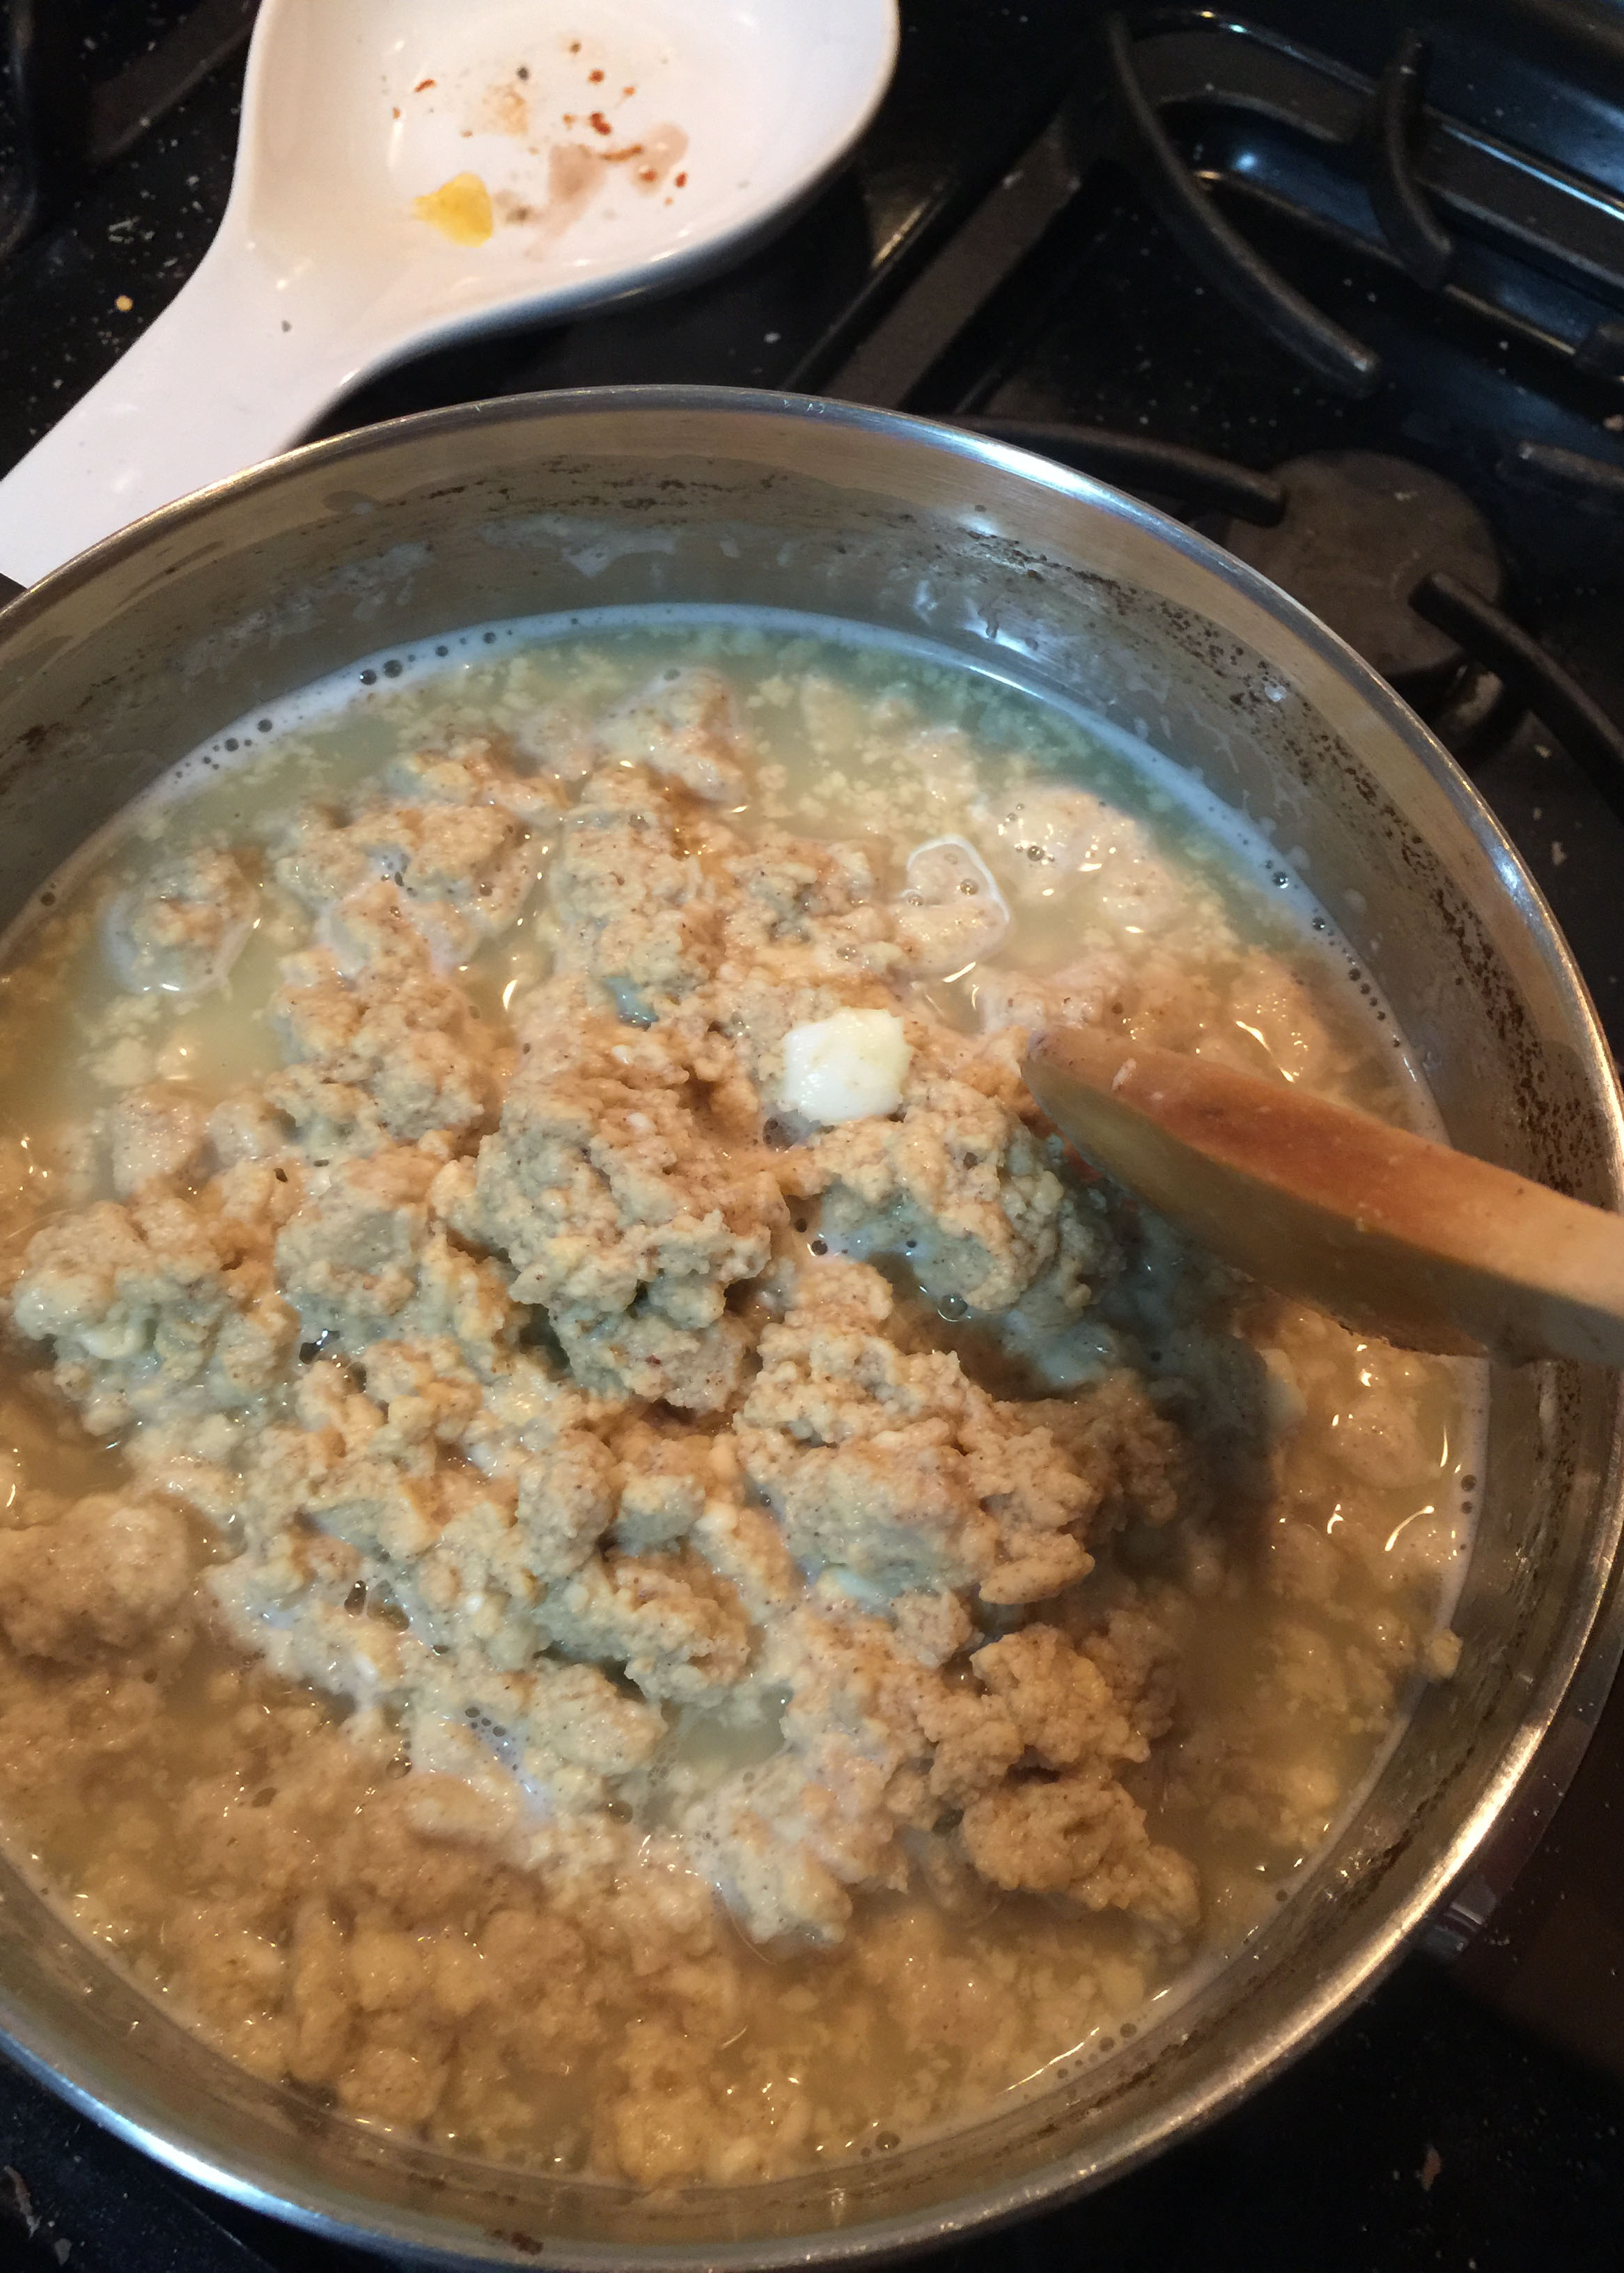
- It’ll start getting chunky. Keep whisking.
- After it’s pretty thoroughly separated so there’s a margin of liquid around the edge of the pot surrounding the solids, pour it into the cheesecloth-lined colander.
- Squish squish squish. Be careful; it’s very hot! Try to squish as much water out as possible.
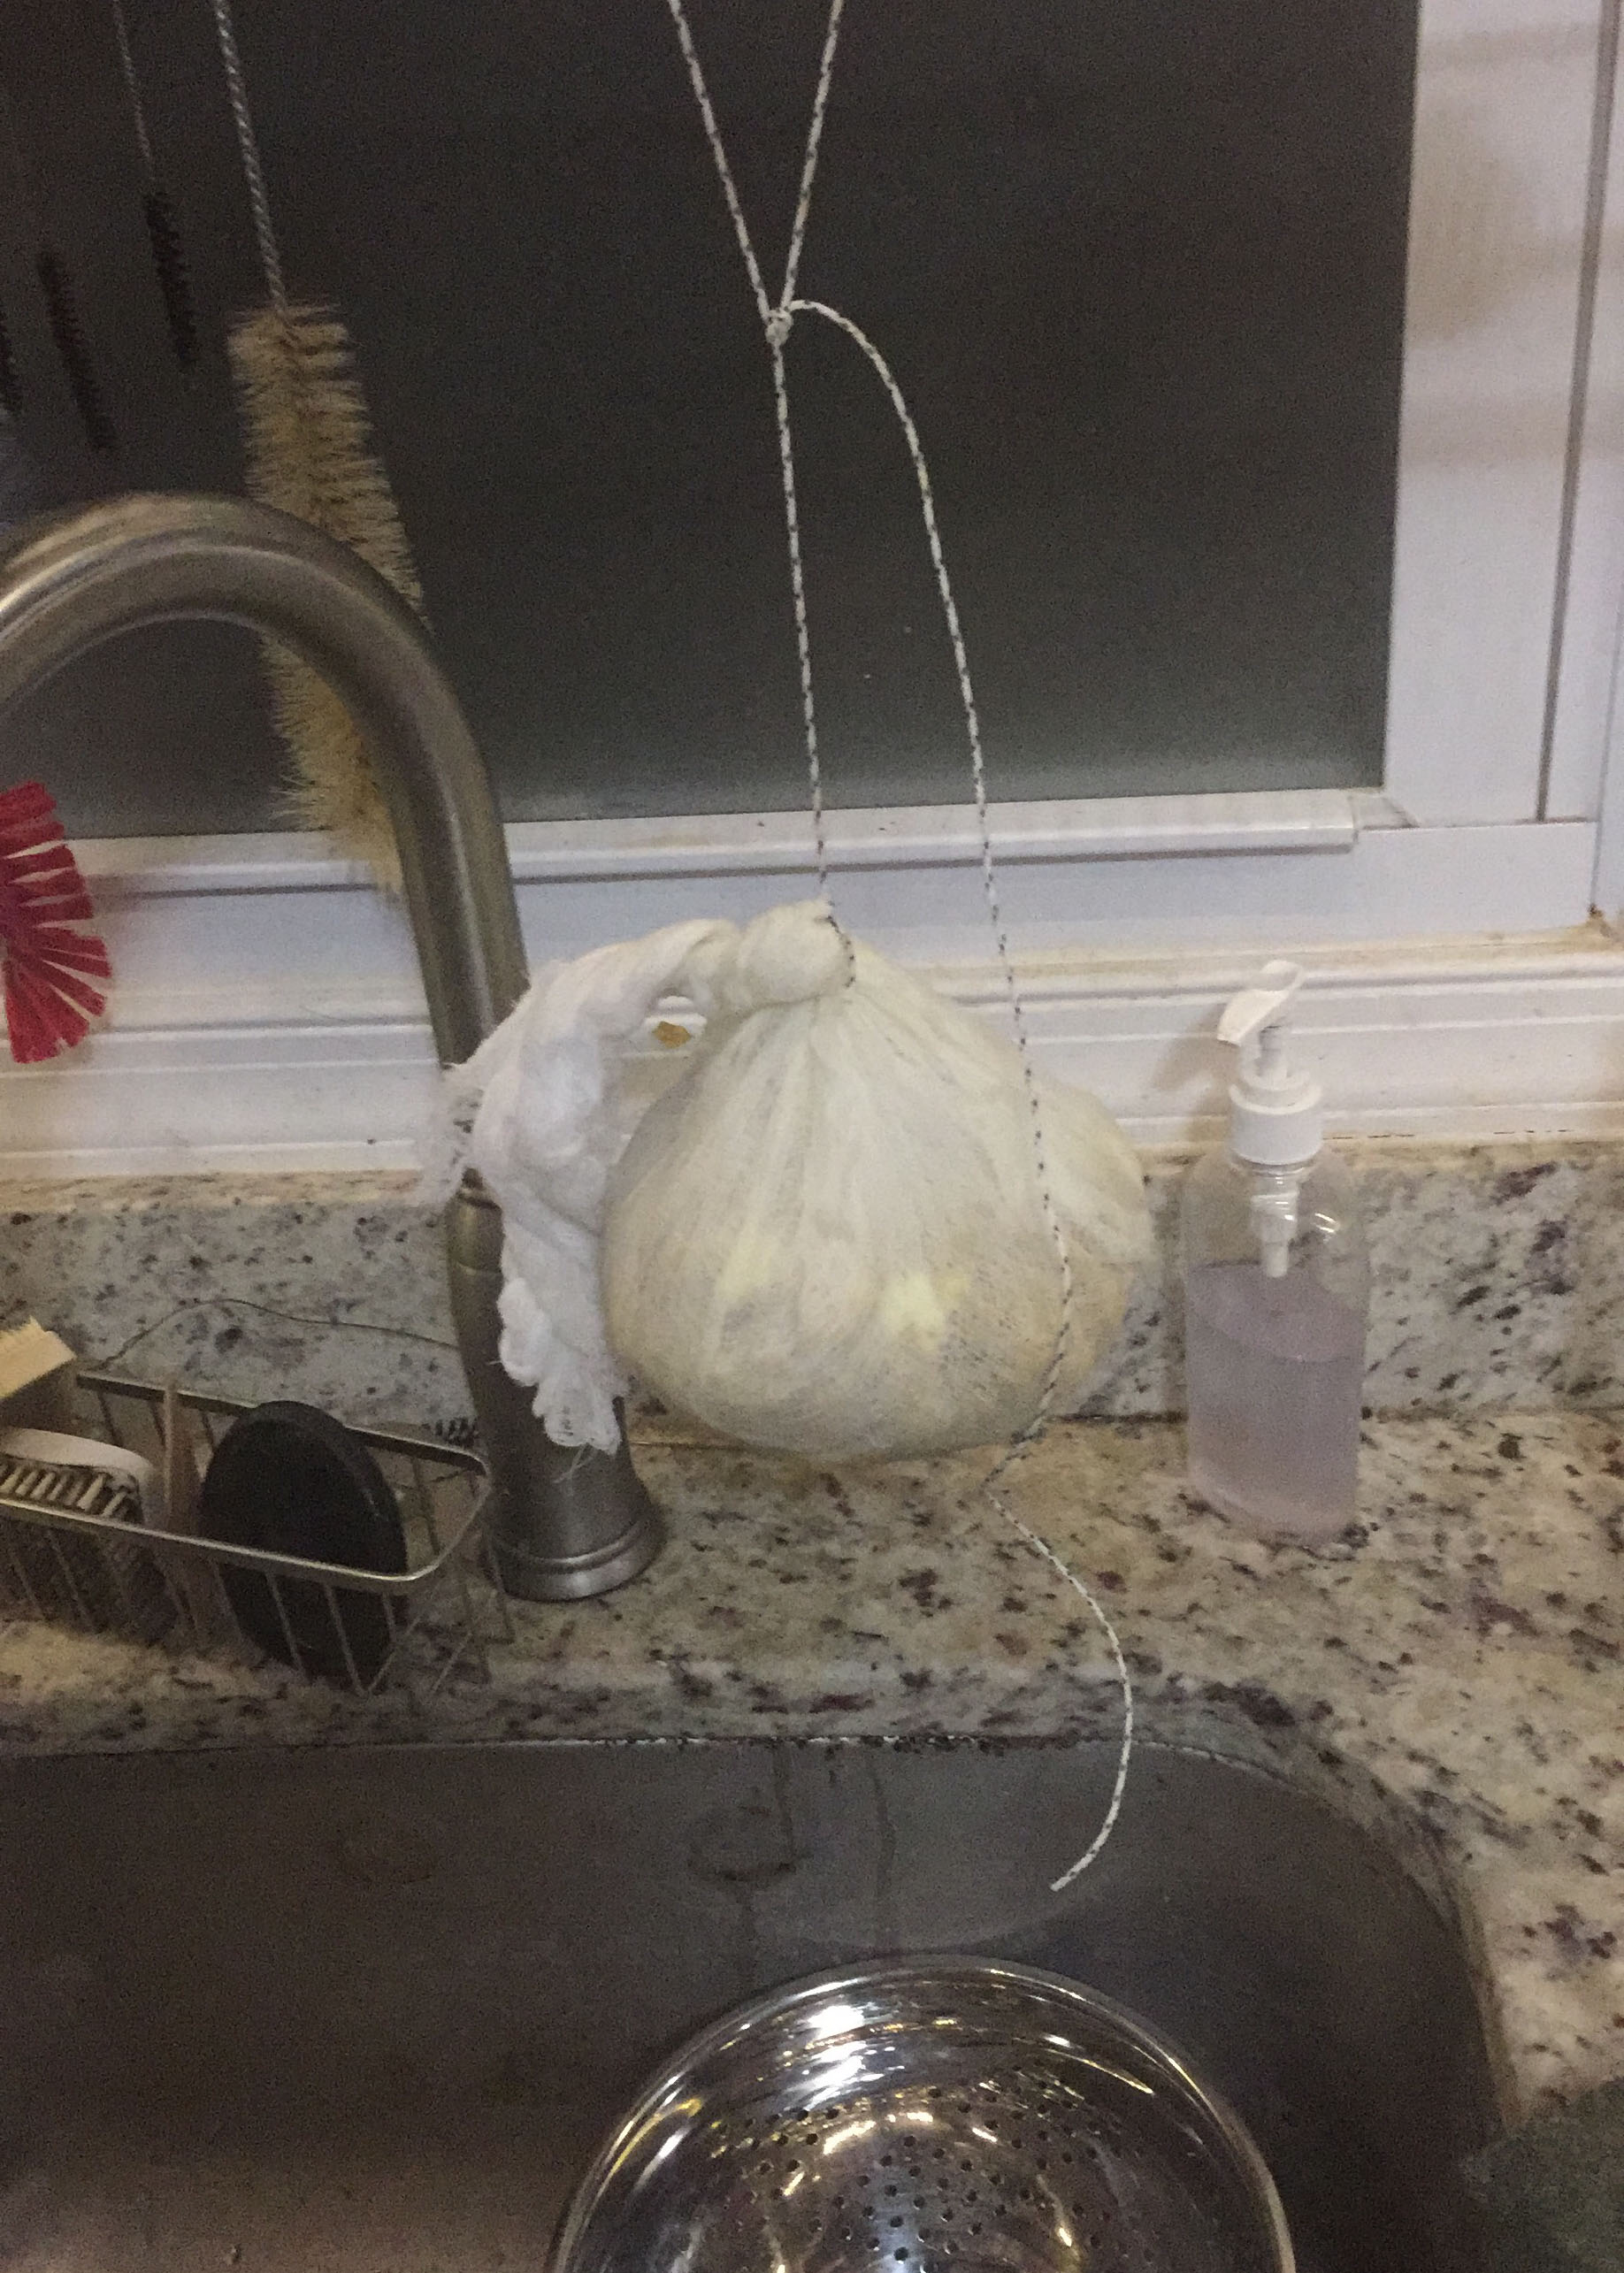
- Bundle up the cheesecloth around the curds and squish some more. Give it a spin to close up the cheesecloth and help apply pressure.
- Tie off the cheesecloth with the string, then tie the other end of the string to something that’ll let it hang over the sink for several hours (or overnight).
- Unwrap the cheese and garnish the top with cloves arranged to make an eastern cross ☦️
About pysanky
I have always used melted wax on eggs, even from being a very small child. This weekend, I will introduce my nibling to this tradition the same way I was, so I want to offer some resources for getting started.
My family uses the “drop-pull method” to write eggs. Sometimes it’s called “Lemko style.” This has a very distinct appearance, with designs made of dots, tear drops, and commas. You probably already have the necessary tools for drop-pull pysanky sitting around the house: a pin or nail, a pencil, wax (like from a candle), and a way to heat the wax (a hot plate or a wax-based air freshener).
About 20 years ago, I started mainly making a different style of pysanky which uses different tools. I think of it as “Ukrainian style” (it’s what you think of when you hear “Ukrainian Easter egg”), but I’ve also heard it called “Hutsul style.” (Lemko and Hutsuls are neighbors, with Hutsuls primarily in Ukraine.) For Ukrainian-style, you’d need to order a kit, becuase I doubt you’re going to make a tiny funnel by hand.
When I was very little, I made what egg artists now term “embossed eggs.” My Mimi put little tins (empty tuna cans? mini foil pie pans? a brownie pan? I forget.) on an electric griddle and melted different colored crayons in them. She stabbed an all-metal sewing pin into the eraser end of a pencil. (A nail works too.) I’d dip the pin into the melted crayon wax, making sure to contact the bottom of the tin with the pin so the pin heats up, then make a single mark on the egg. Tap for a dot. Click & drag for a tear drop or comma. Then back to the tin. I’d get different colors in my designs by changing out which color of wax I dipped into. There’s only one round of dyeing this way, and the wax stays on the egg permanently. This is the most child-friendly, especially if you have one of those modern induction burners that doesn’t get hot to the touch.
When I got a little older, the colored waxes went away, and I started doing wax resist dyeing. You still need something hot to hold one type of wax. One of those wax melters people use for air freshener works great! Melt some beeswax in one of those and use the same technique with the pin in the pencil. Mark what you want to stay white. Dye it yellow. Mark what you want to stay yellow. Move on to progressively darker dyes. At the end, reveal your design by melting off the wax. My Mimi put an empty pan on the stove and gave me a wadded up rag to hold on the hot pan and then wipe the wax off the egg with the hot rag. You can also hold the egg over a candle flame until the wax melts, then wipe it off. The wax removal step is why I don’t recommend it for the littlest kids.
Ukrainian style is also wax resist, so the above steps are the same. Only the tools differ. It’s a tiny funnel on the end of a stick. You heat it in the flame of a candle, use the hot funnel to scoop some beeswax off of a block, then put it back into the flame to melt the wax, and start writing. I highly recommend the design books from the Ukrainian Gift Shop (linked above).